
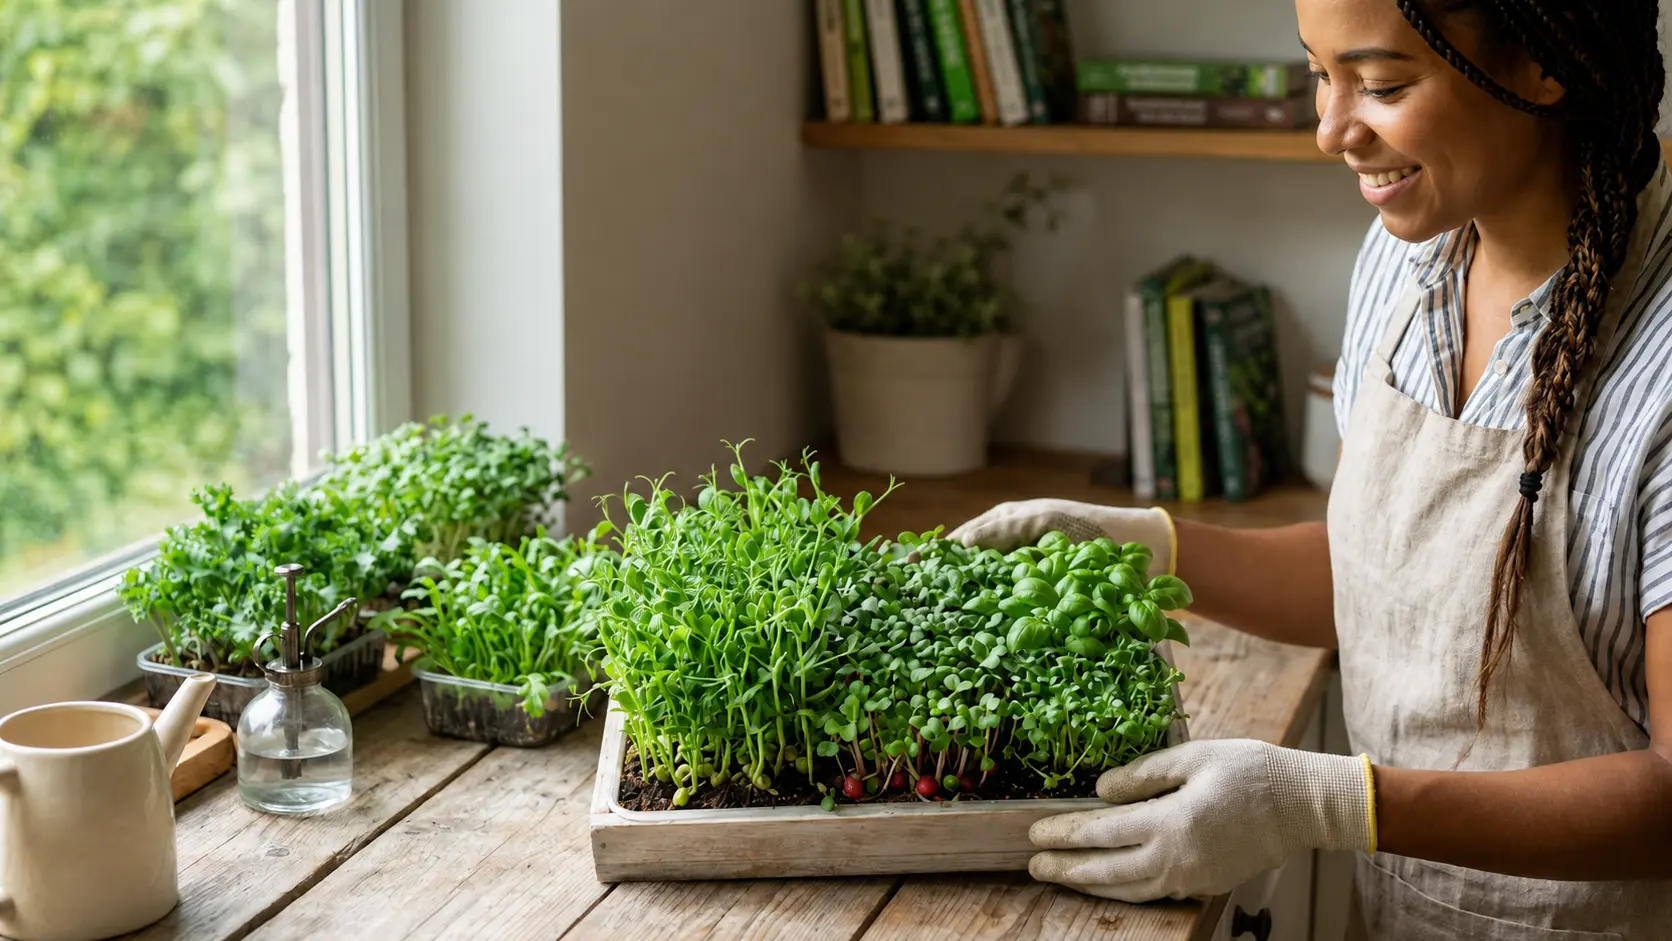
Here is the short answer to grow microgreens: Spread seeds thickly on a damp growing medium in a shallow tray. Cover them and keep them dark for a few days. Then give them light and water until the first true leaves appear. Depending on the plant and growing conditions, microgreens can be harvested 7 to 21 days after germination. Cut them just above the medium and eat them fresh.That is the whole method. The rest of this guide gives the amounts, timing and fixes that stop the first tray from failing.
What Are Microgreens?
Microgreens are young vegetable or herb seedlings. You eat the shoot with its seed leaves and often its first true leaves, cut at the base just above the growing medium. True leaves are the second set of leaves, the ones that look like the adult plant.
Microgreens are not sprouts. Sprouts are seeds soaked in water, usually in the dark, and you eat the whole thing, including the root and often the seed. Microgreens grow in a medium and in light, and you leave the roots behind.
Seeds to avoid: Tomato, pepper, eggplant and potato seedlings contain alkaloids that can be toxic at high levels, so they are not suitable. Do not use wild seeds unless you are certain what the plant is.
What you need
- Seeds sold for sprouts or microgreens
- A shallow tray with drainage holes. A standard “1020” tray is 10 × 20 inches (about 25 × 51 cm). A pie tin or takeout tray also works.
- A second tray without holes to catch water, and a third to use as a cover
- A growing medium: seed-starting mix, coconut coir, or a hydroponic grow mat
- Light: a bright window or a grow light
- A small kitchen scale, so you can weigh the seed
- Clean scissors
Best seeds to start with
These figures come from the USU guide and are for one 1020 tray. Treat the times as rough, since your room and seed batch will change them.
| Microgreen | Seed per tray | Soak first? | Covered (dark) | Time to harvest | Taste |
|---|---|---|---|---|---|
| Arugula | 10 g (0.35 oz) | No | 1–2 days | 6–8 days | Peppery |
| Radish | 42 g (1.5 oz) | No | 1–2 days | 8–12 days | Nutty, spicy |
| Broccoli | 28 g (1 oz) | No | 2–4 days | 8–12 days | Mild broccoli |
| Kale | 28 g (1 oz) | No | 1–2 days | 8–12 days | Nutty, strong |
| Sunflower | 48 g (1.7 oz) | 12 hours | 3 days | 9–10 days | Nutty, sweet |
| Pea | 150 g (5.3 oz) | 6 hours | 3 days | 8–10 days | Sweet pea |
Cilantro and basil are slower. The same table lists cilantro at 21–28 days and basil at 12–16 days, so leave them until your second or third tray.
Step-by-step: how to grow microgreens
Step 1: Choose safe seed
Buy seed sold for sprouts or microgreens. Penn State advises seed that is untreated and uncoated, with a lot number and germination information from the supplier. Seed sold for other uses, such as garden packets or bird feed, may not be handled to the same food standard.
Step 2: Prepare the tray and medium
Clean the tray first. Wet coconut coir until it feels like a wrung-out sponge. Your hand should be wet, but no water should drip out when you squeeze it. Spread about 1 cm to 2.5 cm (½ to 1 inch) of medium in the tray and level it.
Step 3: Weigh and spread the seed
Weigh the seed for your variety and scatter it evenly across the surface. Aim for a dense, even layer with few piles.
Using a smaller container? Scale the amount by area. A 1020 tray is about 200 square inches. A 5 × 5 inch container is 25 square inches, which is one-eighth of a tray. For radish that works out to about 5 g (42 g ÷ 8). This is my own arithmetic from the USU figure. Penn State’s general range is 2 seeds per square inch for large seeds like pea and sunflower, up to 12 for small seeds like broccoli.
Step 4: The blackout period
Seeds germinate in the dark, so cover the tray. Here is the USU method:
- Set a second tray directly on the seeds and put something flat and heavy (2–5 pounds) on top. The weight keeps the seeds pressed into the medium, so the roots grow down instead of pushing the seed up.
- Leave the tray in contact with the seeds for half of the dark time shown in the table.
- For the second half, flip the top tray over so it covers the seedlings without touching them. Keeping them dark a little longer lets the stems stretch.
Check daily and keep the medium damp. Pale yellowish shoots at the end are normal.
Step 5: Add light
Take off the cover and put the tray in bright light. The shoots will turn green. If you use window light, turn the tray each day, because seedlings lean toward the light.
Step 6: Water and airflow
Keep the medium evenly damp, not soggy. Water gently from below by pouring into the bottom tray, or mist lightly. Microgreens also need constant airflow, so USU recommends a gentle fan. Still, damp air is where mold thrives.
Step 7: Harvest
Harvest when the first true leaves appear, or sooner. Taste a few and decide. Cut just above the medium with clean scissors. Harvest when the leaves are dry, because wet leaves spoil faster in the fridge.
Window or grow light?
You will see very different advice. One guide says about 4 hours of direct sun is enough. USU runs lights 18 hours a day with a timer, and notes that Utah winters can have as little as 8 hours of daylight. Winter days in much of Canada are even shorter. A south-facing window can work in spring and summer, and a grow light on a timer gives you steadier results in winter.
If shoots lean hard or look stretched and thin, they need more light. Penn State notes that seedlings lean toward the light when it is limited. Follow your lamp’s instructions for height.
Temperature: USU keeps 74 °F (23 °C) during germination, 72 °F (22 °C) with lights on and 68 °F (20 °C) with lights off. A normal warm room is close enough to start.
Soil, coir or grow mat?
All three work. Coir and seed-starting mix hold water well. Mats are clean and simple, and they suit people who want to grow without soil. Penn State’s food safety team notes that the growing medium itself can carry pathogens, so buy a fresh, clean one and never reuse it. If you use garden soil, you take on more risk.
Troubleshooting
| What you see | Likely cause | What to do |
|---|---|---|
| White fuzz on roots only, just after uncovering | Root hairs: tiny normal roots | Nothing. They fade into the medium. |
| Fuzz on stems, leaves or the medium that spreads; gray, pink or black | Mold | Remove the affected area or tray. Next time use less seed, better airflow and less water. |
| Pale, thin, leaning shoots | Too little light | Add light or move closer to the window |
| Patchy germination | Uneven seed, medium too dry, or old seed | Spread more evenly and keep damp |
| Stems falling over at the base | Too wet, or too dense with no airflow | Reduce water, add a fan, sow thinner |
On mold: a seed company’s guide says root hairs stay on the roots and fade into the medium, while mold keeps growing on the surface and onto the seedlings. A University of Illinois Extension educator links disease to seeding too densely and having no air circulation. When in doubt, do not eat it.
Food safety
Microgreens are usually eaten raw, so hygiene matters.
The risk looks lower than for sprouts, but it is not zero. A Nevada Extension factsheet reports no known foodborne illness outbreaks linked to microgreens in the US from 1998 to 2017, compared with over 50 for sprouts and baby greens and over 350 for mature leafy greens. A garden educator also notes the risk is not zero when growing practices favour pathogens. Tennessee Extension adds that the warm, damp conditions microgreens like are also good for harmful microbes. Moe, J. 2020, Microgreens and Produce Safety, Desert Farming Initiative, University of Nevada, Reno +2
Practical steps:
- Treat seed as carefully as the greens, and check it for spoilage when it arrives. unr
- Wash your hands and clean trays and scissors before each batch.
- Use a fresh, clean medium and clean water.
- Cut above the medium. Do not eat roots or medium.
- Refrigerate after harvest.
For Canadian readers: Health Canada’s sprout guidance says to avoid eating raw or undercooked sprouts and to wash hands for at least 20 seconds before and after handling them. That advice is about sprouts, not microgreens. Health Canada has also said children under five, older adults, pregnant women and people with weakened immune systems should not eat raw sprouts at all. I did not find official Canadian microgreen rules. If someone in your home is in one of those groups, ask your doctor or local public health unit before serving raw microgreens.
Are they worth the effort?
A 2012 University of Maryland study tested 25 commercial microgreens. Vitamin C ranged from 20.4 to 147.0 mg per 100 g of fresh weight, and the microgreen seed leaves had higher nutrient density than the mature leaves they were compared with. Amounts vary a lot by type, and the study measured nutrient content, not health outcomes. Think of microgreens as a fresh, flavourful addition to meals.